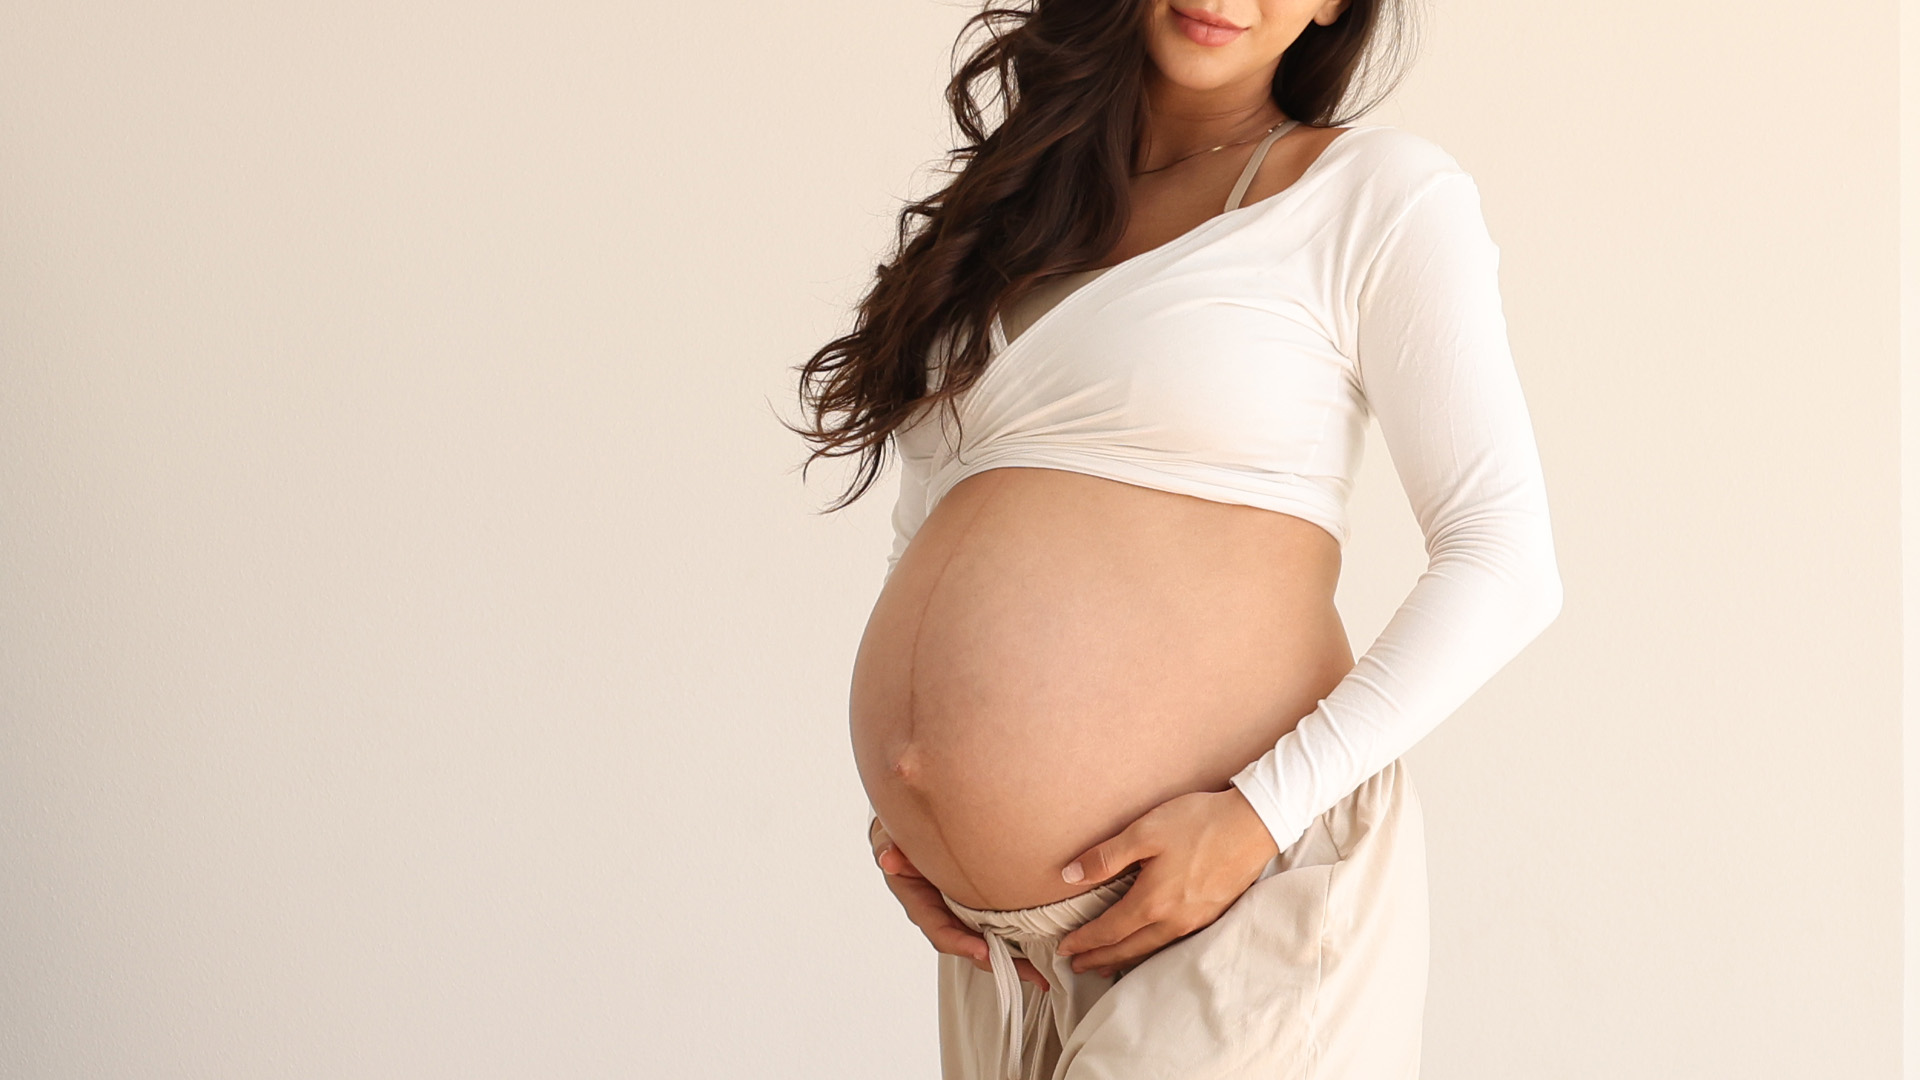
Here's the mental picture that changes how you stretch in the third trimester: your pelvis isn't one ring — it's a short tunnel with levels. There's an entrance up top (the inlet), a middle passage (the midpelvis), and an exit below (the outlet). During labor, your baby rotates and descends through each level in turn.
Here's the part almost nobody tells you: different hip positions make space at different levels. The position that opens the entrance is not the position that opens the exit. That's why "just do hip openers" is incomplete advice — and why the five stretches below are chosen deliberately, one job each.
And you have an ally: relaxin, the pregnancy hormone that softens your ligaments, means your pelvis is more responsive to positional work right now than at any other time in your life. The same hormone behind pregnancy aches is the one making this practice effective.
What this practice actually does
- Creates room at every level of the pelvis — practicing the positions now means they're familiar and comfortable when you need them in labor.
- Gives baby room to position. Balanced, supple hips and a relaxed pelvic floor give your baby the best available space to settle head-down and rotate well.
- Relieves the aches — low back, hips, pubic bone, that third-trimester "everything is heavy" feeling.
- Trains the release. Birth asks your pelvic floor to open, not brace (that's a whole post of its own). Every one of these stretches doubles as release practice.
- Downshifts your nervous system. Supported holds plus slow breathing shift you toward the calm, parasympathetic state where labor works best — and where you sleep better tonight.
You're not stretching to get flexible. You're rehearsing the shapes birth will ask for — so your body already knows the way.
The 5 stretches
Hold each for 5–10 slow 360 breaths (roughly 1–2 minutes). Do the sequence daily in the third trimester if it feels good — or any trimester with your provider's okay. The rule for every position: supported and sustainable. Use enough props that you could stay there comfortably while chatting.
#1
Supported Low Lunge
Opens the midpelvis · releases hip flexors
Kneel on one knee (cushion under it), front foot forward wide of your body, hands on blocks or a chair. Let your hips sink gently forward and down without arching your low back. The asymmetry — one hip flexed, one extended — creates space through the middle passage of the pelvis, and the hip-flexor release counters all the sitting your body's been doing.
Props: cushion, two blocks or a chair. Switch sides.
#2
Supported Deep Squat
Opens the lower pelvis · trains the release
Feet wider than hips, toes turned out, lower down and rest your elbows inside your knees — with your hips supported on a block, bolster, or thick book stack. The support is the whole point: an unsupported hang makes you grip; a supported squat lets your pelvic floor actually let go down there. Exhale slowly and imagine the space between your sit bones widening.
Props: block or bolster under hips; heels on a rolled blanket if they lift. Skip or elevate higher if you have pubic bone pain.
#3
Supported Lizard
Deep hip opening · inner thigh release
From the low lunge, walk your front foot wide and let both hands (or forearms) come to blocks inside the front leg. Belly has room; nothing is compressed. This one reaches the deep rotators and inner-thigh line — the muscles that quietly guard the pelvis and need convincing to release before they'll give baby the room.
Props: blocks under forearms, cushion under back knee. Switch sides.
#4
Supported Fire Log
Outer hip release · sciatic-line relief
Seated on a cushion, stack one shin on top of the other like firewood (or take an easy cross-legged version if stacking is too much today). Hinge slightly forward over the legs with a long spine. The outer-hip muscles this reaches are the ones that ache after a day of third-trimester waddling — and tight outer hips are pelvis-position bullies. Breathe into the back of your ribs.
Props: cushion under hips, blocks under knees if they float. Switch which shin is on top.
#5
Supported Reclined Butterfly
Full front-body release · nervous system downshift
Recline back onto a bolster or stacked pillows (propped up enough to stay comfortable for baby and your circulation — not flat), soles of feet together, knees falling open onto cushions. Nothing to hold, nowhere to be. This is the integration pose: hips open passively, belly softens, breath slows. Stay 2–3 minutes. If you fall asleep, that was the correct dosage.
Props: bolster/pillows behind you, cushion under each knee.
Safety notes
Every position should feel like relief, not effort. Skip anything that causes pubic bone pain (SPD makes wide positions unfriendly — narrow your stance and see your provider), dizziness when reclined, or any sharp sensation. This is general education, not medical advice — clear movement with your midwife or OB, especially with placenta previa, cerclage, preterm labor risk, or other complications.
Make it a practice, not a post you save and forget
The honest truth about that little bookmark icon: saved is not stretched. This sequence works through repetition — your hips release a little more each session, and the positions become second nature exactly when you'll want them on autopilot. Ten minutes, most evenings, third trimester. That's the dose.
If you want it guided instead of remembered: this material lives inside Birth Ready — the Trimester 3 program sequences hips, breath, and pelvic floor release week by week (weeks 28–40), and the Anatomy & Technique course explains every "why" in depth.
FAQ
When should I start these stretches?
They're most valuable in the third trimester, but gentle supported versions are appropriate through most of pregnancy with your provider's okay. Consistency in the last 8–10 weeks is where the payoff concentrates.
Can these help my baby turn head-down?
No stretch can guarantee position — but balanced hips, a released pelvic floor, and time in gravity-friendly shapes give your baby the best available room to settle well. If baby is breech past 34–36 weeks, work with your provider on the full toolkit.
Do these actually make labor easier?
What the research supports: regular prenatal movement is associated with shorter active labor and fewer interventions, and familiarity with labor positions plus a pelvic floor that can release are practical, trainable advantages. What nobody can promise: a specific birth outcome. Prepare the body, hold the plan loosely.
I have pelvic girdle pain (SPD). Which of these can I do?
Narrow the stances (skip or elevate the deep squat, keep the butterfly knees higher on cushions), move symmetrically, and let pain be a hard no. A pelvic floor PT can tailor the list — SPD is very workable with the right modifications.
Ten guided minutes a day until birth day.
Birth Ready's Trimester 3 program takes you week by week from 28 to 40 — hips, breath, pelvic floor, and calm. First week free.
Start Week One
Em is a prenatal and postpartum fitness specialist and the founder of motherbuilt. She teaches technique-first programs covering pregnancy (weeks 1–40) and the postpartum rebuild. Find her on Instagram at @birthreadymama.